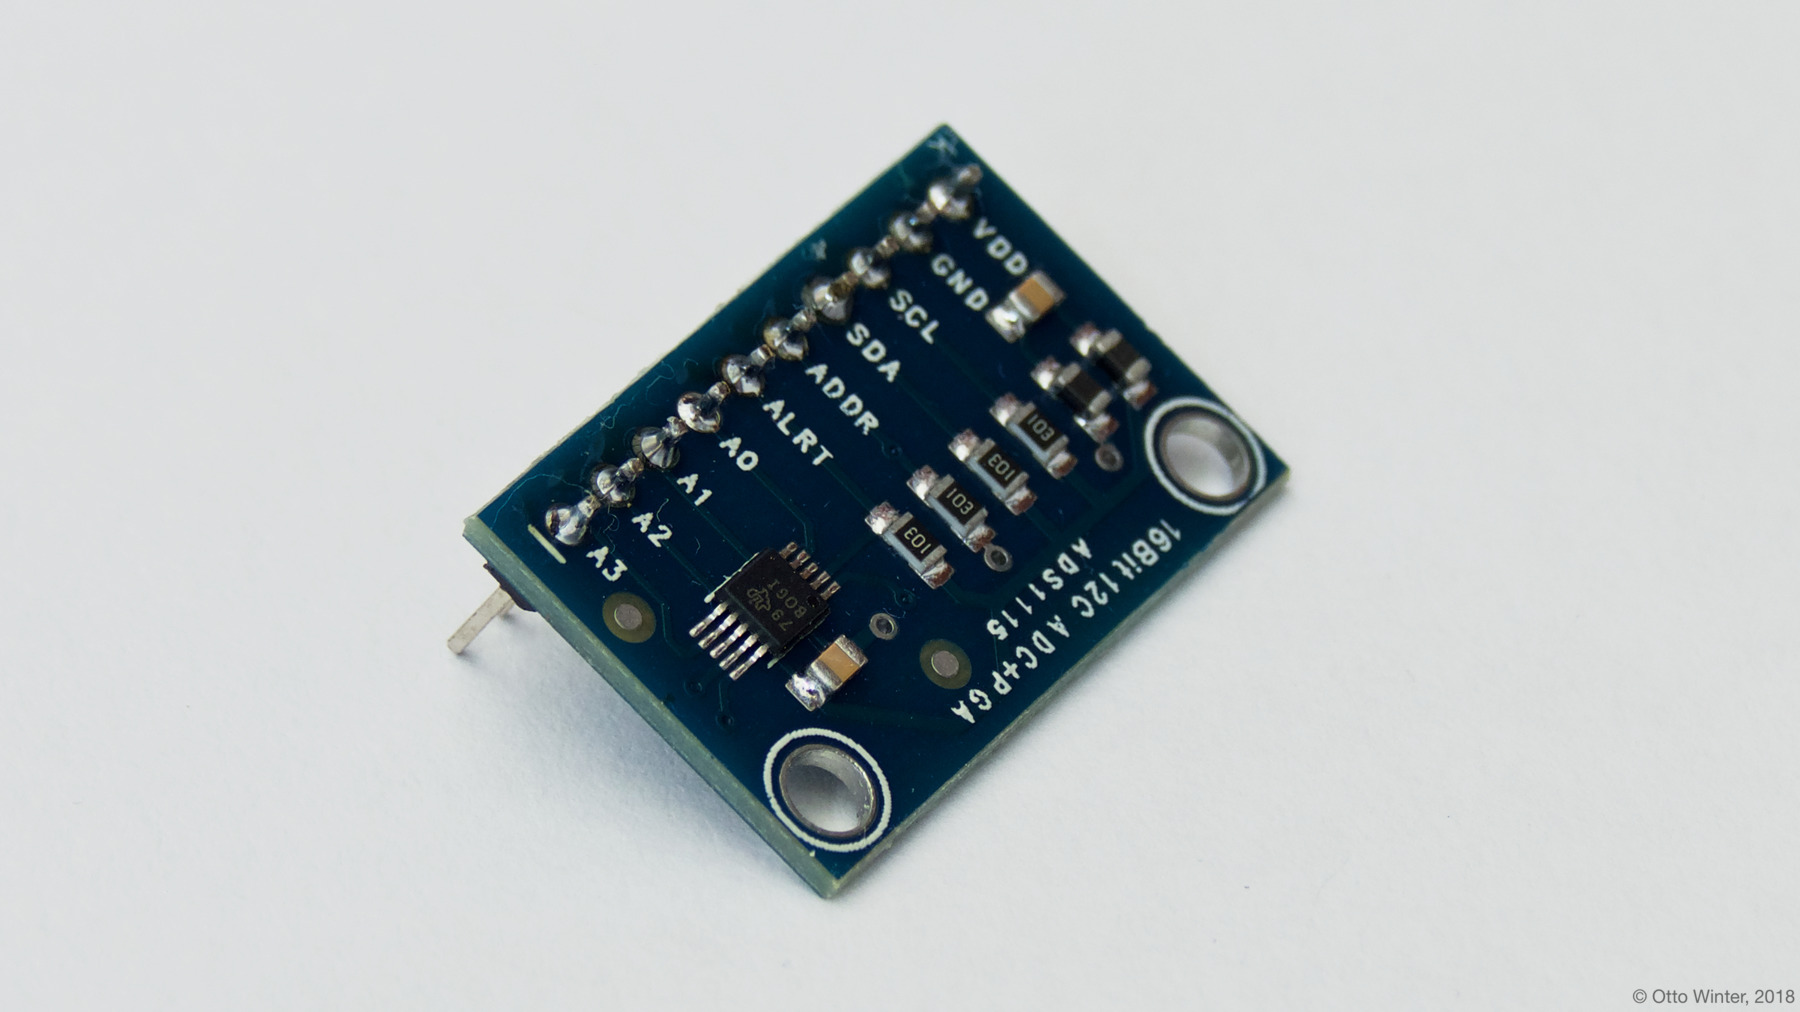
ADS1115 4-Channel 16-Bit A/D Converter
Component/Hub
The ads1115 domain creates a global hub so that you can later create
individual sensors using the ADS1115 Sensor Platform.
To use this hub, first setup the I²C Bus and connect the sensor to the pins specified there.

ads1115:
  - address: 0x48
Configuration variables
address (Required, int): The i²c address of the sensor. See I²C Addresses for more information.
continuous_mode (Optional, boolean): Set if the ADS1115 should continuously measure voltages or only measure them when an update is called. Please enable this for the CT Clamp Current Sensor component. Defaults to
off.id (Optional, ID): Manually specify the ID for this ADS1115 Hub. Use this if you want to use multiple ADS1115 hubs at once.
I²C Addresses
In order to allow multiple sensors to be connected to the same i²c bus, the creators of this sensor hardware have included some options to change the i²c address.
- If the address pin is pulled to GND, the address is
0x48(Default). - If the address pin is pulled to VCC, the address is
0x49. - If the address pin is tied to SDA, the address is
0x4a. - If the address pin is tied to SCL, the address is
0x4B.
Sensor
The ads1115 sensor allows you to use your ADS1115 sigma-delta ADC
sensors (datasheet, Adafruit_ADS1115) or your ADS1015 sigma-delta ADC sensors (datasheet, Adafruit_ADS1015) with ESPHome.
First, setup an ADS1115 Hub for your ADS1115 sensor and then use this
sensor platform to create individual sensors that will report the
voltage to Home Assistant.

ads1115:
  - address: 0x48
sensor:
  - platform: ads1115
    multiplexer: 'A0_GND'
    gain: 6.144
    name: "ADS1115 Channel A0-GND"
Configuration variables
multiplexer (Required): The multiplexer channel of this sensor. Effectively means between which pins you want to measure voltage.
gain (Required, float): The gain of this sensor.
sample_rate (Optional, int): The sample rate of this sensor. Defaults to
860.ads1115_id (Optional, ID): Manually specify the ID of the ADS1115 Hub you want to use this sensor.
update_interval (Optional, Time): The interval to check the sensor. Defaults to
60s.resolution (Optional, string): the resolution of this sensor. Defaults to
16 bits.16 bits12 bitsAll other options from Sensor.
Multiplexer, Gain and Sample rate
ℹ️ Note
As per (datasheet, Adafruit) Section 7.3 Note 2: “No more than VDD + 0.3V must be applied to the analog inputs of the device.” This means if you power the device with 3.3V, take care not to supply the 4 AIN pins with more than 3.6V.
The ADS1115 has a multiplexer that can be configured to measure voltage between several pin configurations. These are:
A0_A1(between Pin 0 and Pin 1)A0_A3(between Pin 0 and Pin 3)A1_A3(between Pin 1 and Pin 3)A2_A3(between Pin 2 and Pin 3)A0_GND(between Pin 0 and GND)A1_GND(between Pin 1 and GND)A2_GND(between Pin 2 and GND)A3_GND(between Pin 3 and GND)
The ADS1115 has a Programmable Gain Amplifier (PGA) that can help you measure voltages in different ranges, these are:
6.144(measures up to 6.144V)4.096(measures up to 4.096V)2.048(measures up to 2.048V)1.024(measures up to 1.024V)0.512(measures up to 0.512V)0.256(measures up to 0.256V)
Additionally, the sample rate can be adjusted to reduce noise. Note that low values will cause high loop delay. Supported values:
8(8 SPS or 128 SPS on ADS1015)16(16 SPS or 250 SPS on ADS1015)32(32 SPS or 490 SPS on ADS1015)64(64 SPS or 920 SPS on ADS1015)128(128 SPS or 1600 SPS on ADS1015)250(250 SPS or 2400 SPS on ADS1015)475(475 SPS or 3300 SPS on ADS1015)860(860 SPS or 3300 SPS on ADS1015)
The ADS1115 can be used with defaults settings.
When using an ADS1015, the resolution has to be specified and should be defined to 12_BITS
(or equivalent notations like 12 BITS or 12 bits ).

