PN532 NFC/RFID
Component/Hub
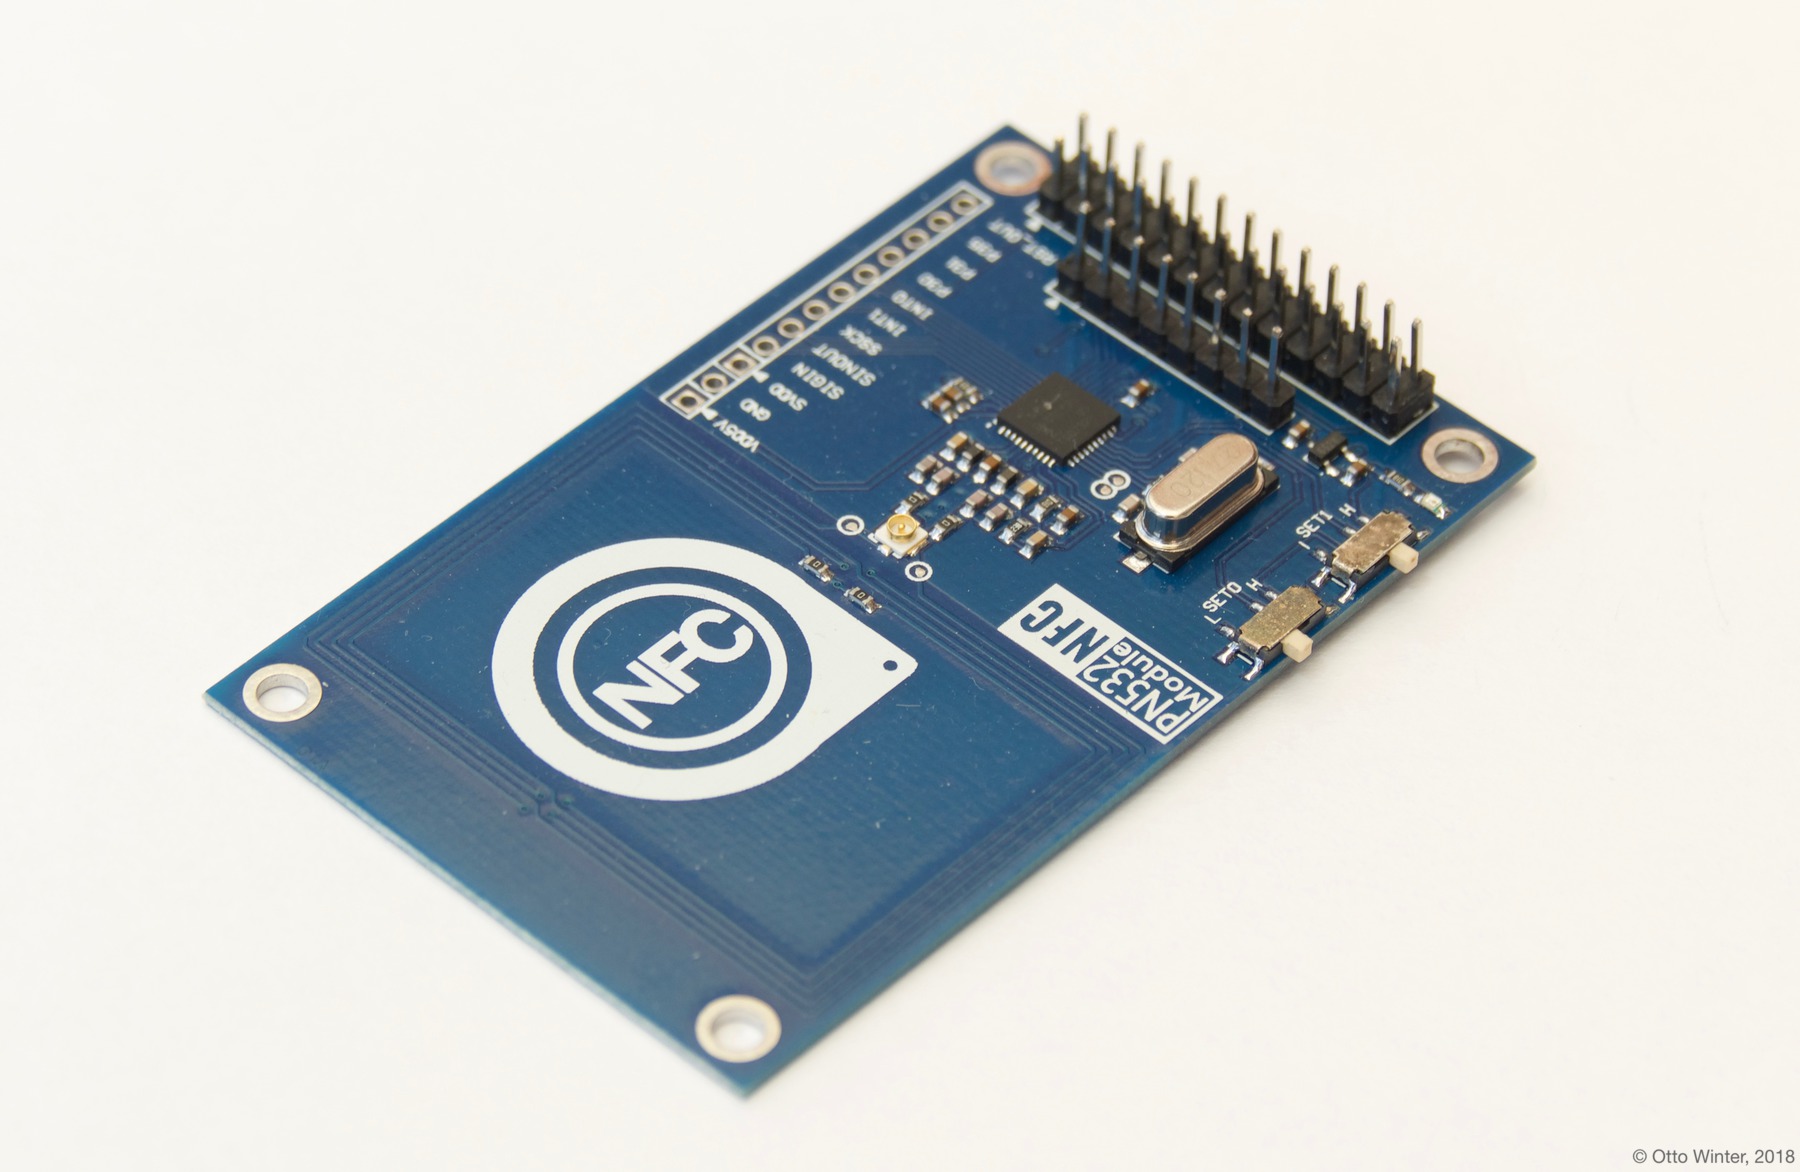
The pn532 component allows you to use PN532 NFC/RFID controllers
(datasheet, Adafruit)
with ESPHome. This component is a global hub that establishes the connection to the PN532 via SPI or I²C and
outputs its data. Using the PN532 binary sensors you can then
create individual binary sensors that track if an NFC/RFID tag is currently detected by the PN532.

See Setting Up Tags for information on how to setup individual binary sensors for this component.
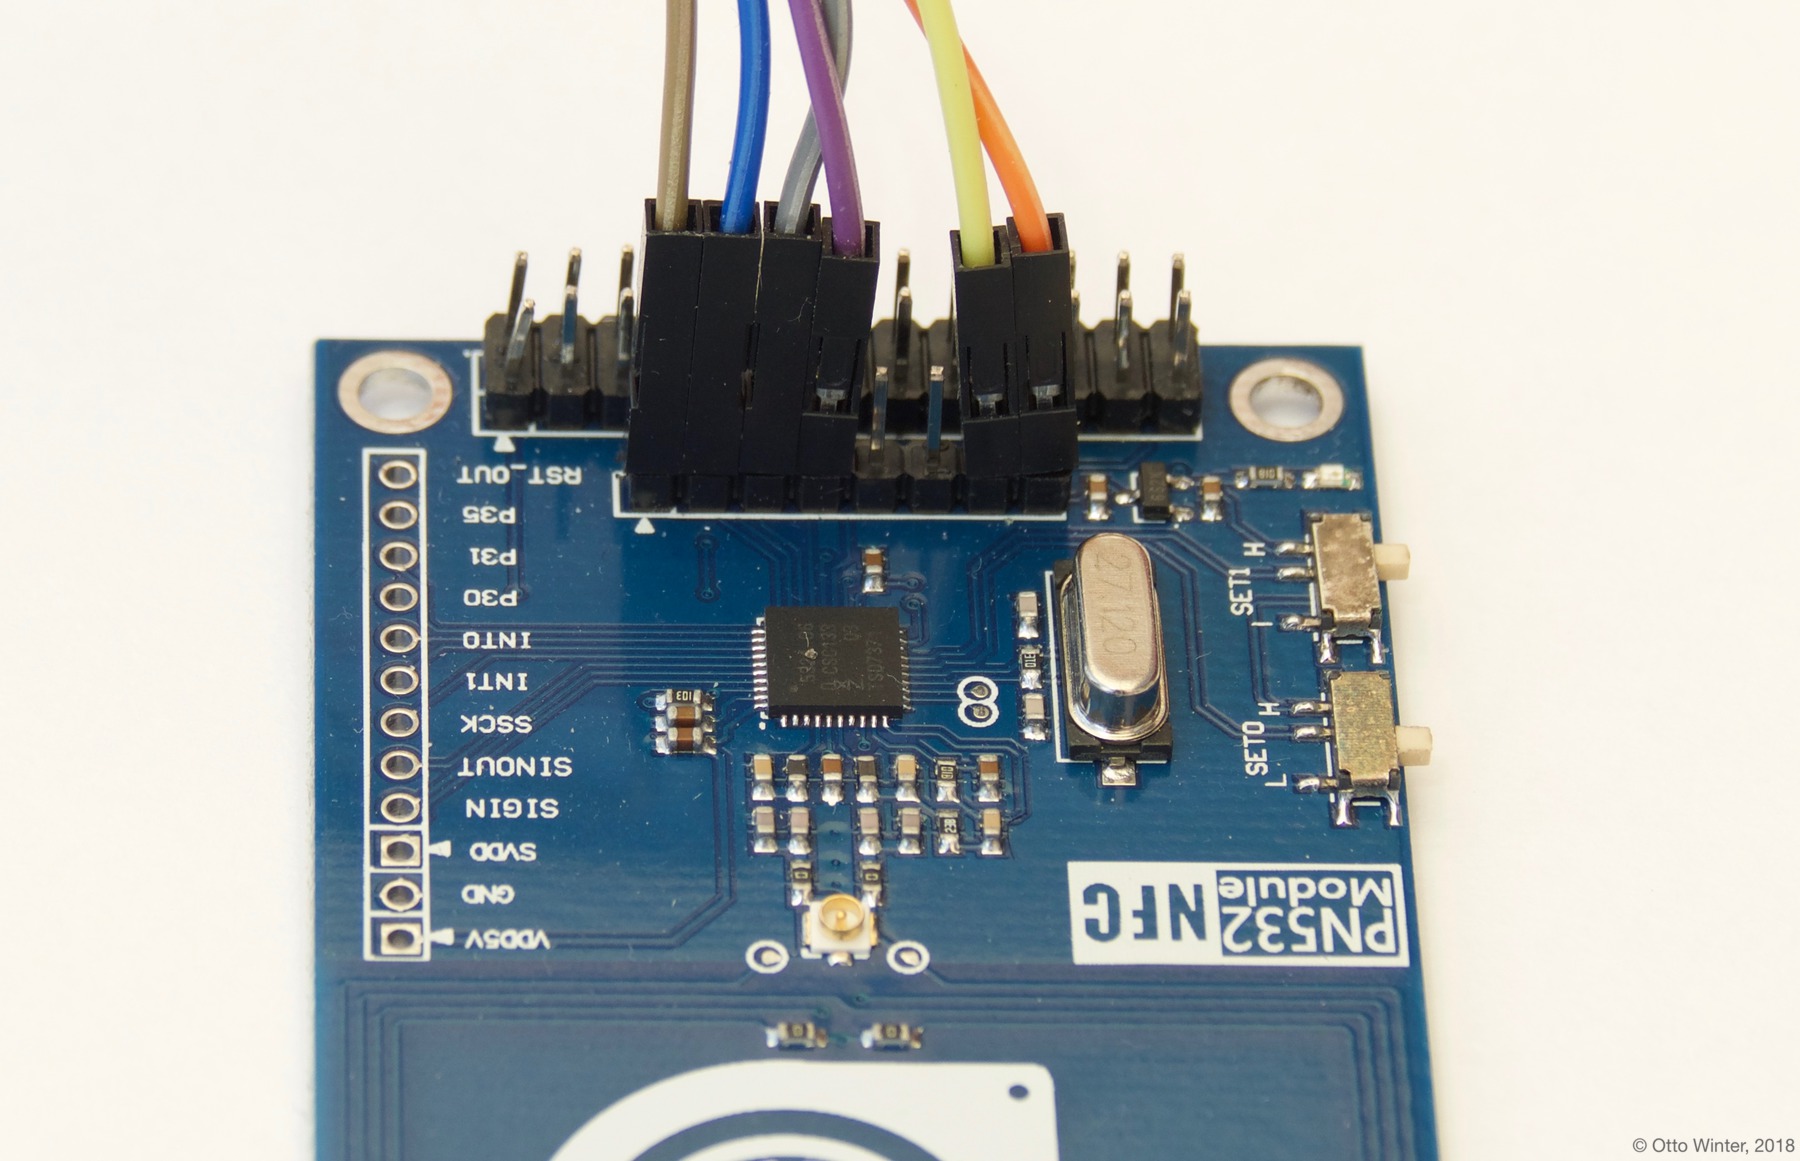
The PN532 can be configured to use either the SPI or I²C protocol for data communication. You will need to switch the dip switches located on the module according to the table printed on the board. SPI is usually switch 1 OFF and switch 2 ON and I²C is usually switch 1 ON and switch 2 OFF. You will need to have the SPI Bus or the I²C Bus configured depending on your choice.
Over SPI
The pn532_spi component allows you to use PN532 NFC/RFID controllers
(datasheet, Adafruit)
with ESPHome. This component is a global hub that establishes the connection to the PN532 via SPI and
outputs its data. Using the PN532 binary sensors you can then
create individual binary sensors that track if an NFC/RFID tag is currently detected by the PN532.
pn532_spi:
  cs_pin: D3
  update_interval: 1s

binary_sensor:
  - platform: pn532
    uid: 74-10-37-94
    name: "PN532 NFC Tag"
Configuration variables
cs_pin (Required, Pin Schema): The pin on the ESP that the chip select line is connected to.
update_interval (Optional, Time): The duration of each scan on the PN532. This affects the duration that the individual binary sensors stay active when they’re found. If a device is not found within this time window, it will be marked as not present. Defaults to 1s.
on_tag (Optional, Automation): An automation to perform when a tag is read. See pn532-on_tag.
on_tag_removed (Optional, Automation): An automation to perform when a tag is removed. See
on_tag_removed.spi_id (Optional, ID): Manually specify the ID of the SPI Component if you want to use multiple SPI buses.
id (Optional, ID): Manually specify the ID for this component.

Over I²C
The pn532 component allows you to use PN532 NFC/RFID controllers
(datasheet, Adafruit)
with ESPHome. This component is a global hub that establishes the connection to the PN532 via I²C and
outputs its data. Using the PN532 binary sensors you can then
create individual binary sensors that track if an NFC/RFID tag is currently detected by the PN532.
pn532_i2c:
  update_interval: 1s

binary_sensor:
  - platform: pn532
    uid: 74-10-37-94
    name: "PN532 NFC Tag"
Configuration variables
update_interval (Optional, Time): The duration of each scan on the PN532. This affects the duration that the individual binary sensors stay active when they’re found. If a device is not found within this time window, it will be marked as not present. Defaults to 1s.
on_tag (Optional, Automation): An automation to perform when a tag is read. See pn532-on_tag.
i2c_id (Optional, ID): Manually specify the ID of the I²C Component if you want to use multiple I²C buses.
id (Optional, ID): Manually specify the ID for this component.
on_tag Action
This automation will be triggered when the PN532 module responds with a tag. This will only be triggered
if the tag is changed or goes away for one cycle of update_interval.
The parameter x this trigger provides is of type std::string and is the tag UID in the format
74-10-37-94. The configuration below will for example publish the tag ID on the MQTT topic pn532/tag.
See NDEF reading below for how to use the second tag parameter that is provided to this trigger.
pn532_...:
  # ...
  on_tag:
    then:
      - mqtt.publish:
          topic: pn532/tag
          payload: !lambda 'return x;'
A tag scanned event can also be sent to the Home Assistant tag component
using homeassistant.tag_scanned Action.
pn532_...:
  # ...
  on_tag:
    then:
      - homeassistant.tag_scanned: !lambda 'return x;'
Alternatively you could also send the value directly to Home Assistant via a template sensor.
pn532_...:
  # ...
  on_tag:
    then:
    - text_sensor.template.publish:
        id: rfid_tag
        state: !lambda 'return x;'

text_sensor:
  - platform: template
    name: "RFID Tag"
    id: rfid_tag
on_tag_removed
This automation will be triggered when the PN532 module responds with no tag. This will only be triggered
if the tag goes away for one cycle of update_interval.
The parameter x this trigger provides is of type std::string and is the removed tag UID in the format
74-10-37-94. The configuration below will for example publish the removed tag ID on the MQTT topic pn532/tag_removed.
pn532:
  # ...
  on_tag_removed:
    then:
      - mqtt.publish:
          topic: pn532/tag_removed
          payload: !lambda 'return x;'
pn532 Binary Sensor
The pn532 binary sensor platform lets you track if an NFC/RFID tag with a given
unique id (uid ) is currently being detected by the PN532 or not.
# Example configuration entry
spi:
  clk_pin: D0
  miso_pin: D1
  mosi_pin: D2

pn532_spi:
  cs_pin: D3
  update_interval: 1s

binary_sensor:
  - platform: pn532
    uid: 74-10-37-94
    name: "PN532 NFC Tag"
Configuration variables
uid (Required, string): The unique ID of the NFC/RFID tag. This is a hyphen-separated list of hexadecimal values. For example
74-10-37-94.All other options from Binary Sensor.
Setting Up Tags
To set up binary sensors for specific NFC tags you first have to know their unique IDs. To obtain this id, first set up a simple PN532 configuration without any binary sensors like above.
When your code is running and you approach the PN532 with an NFC Tag, you should see a message like this:
Found new tag '74-10-37-94'Then copy this id and create a binary_sensor entry as in the configuration example. Repeat this process for
each tag.
NDEF
The PN532 supports reading and writing NDEF formatted data into the cards.
NDEF reading
The following example will read an NFC tag that has been formatted and written using the Home Assistant Companion
App and send it to Home Assistant using the homeassistant.tag_scanned Action. The tag variable is
supplied to the on_tag trigger and any actions that run and can be used as below.
pn532_...:
  # ...
  on_tag:
    then:
      - homeassistant.tag_scanned: !lambda |
          if (!tag.has_ndef_message()) {
            return x;
          }
          auto message = tag.get_ndef_message();
          auto records = message->get_records();
          for (auto &record : records) {
            std::string payload = record->get_payload();
            size_t pos = payload.find("https://www.home-assistant.io/tag/");
            if (pos != std::string::npos) {
              return payload.substr(pos + 34);
            }
          }
          return x;
NDEF Writing
The following example can be used to write a (pseudo) random UUID to the tag in the same format as the Home Assistant Companion App does.
on_...
  then:
    - lambda: |-
        static const char alphanum[] = "0123456789abcdef";
        std::string uri = "https://www.home-assistant.io/tag/";
        for (int i = 0; i < 8; i++)
          uri += alphanum[random_uint32() % (sizeof(alphanum) - 1)];
        uri += "-";
        for (int j = 0; j < 3; j++) {
          for (int i = 0; i < 4; i++)
            uri += alphanum[random_uint32() % (sizeof(alphanum) - 1)];
          uri += "-";
        }
        for (int i = 0; i < 12; i++)
          uri += alphanum[random_uint32() % (sizeof(alphanum) - 1)];
        auto message = new nfc::NdefMessage();
        message->add_uri_record(uri);
        ESP_LOGD("ndef", "Writing payload: %s", uri.c_str());
        id(pn532_board).write_mode(message);
    - wait_until:
        not:
          pn532.is_writing:
    - logger.log: "Finished writing tag"
